
Last updated November 2, 2026
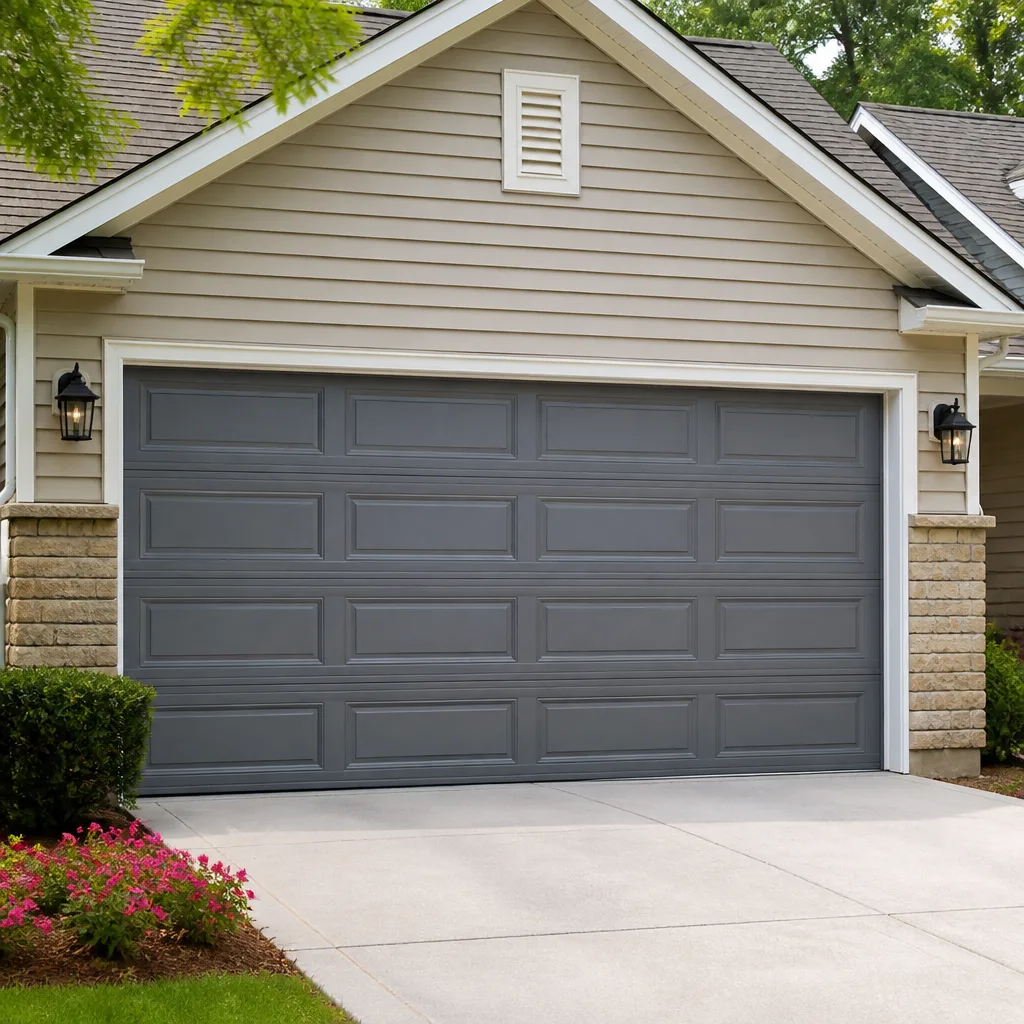 Raised-panel steel
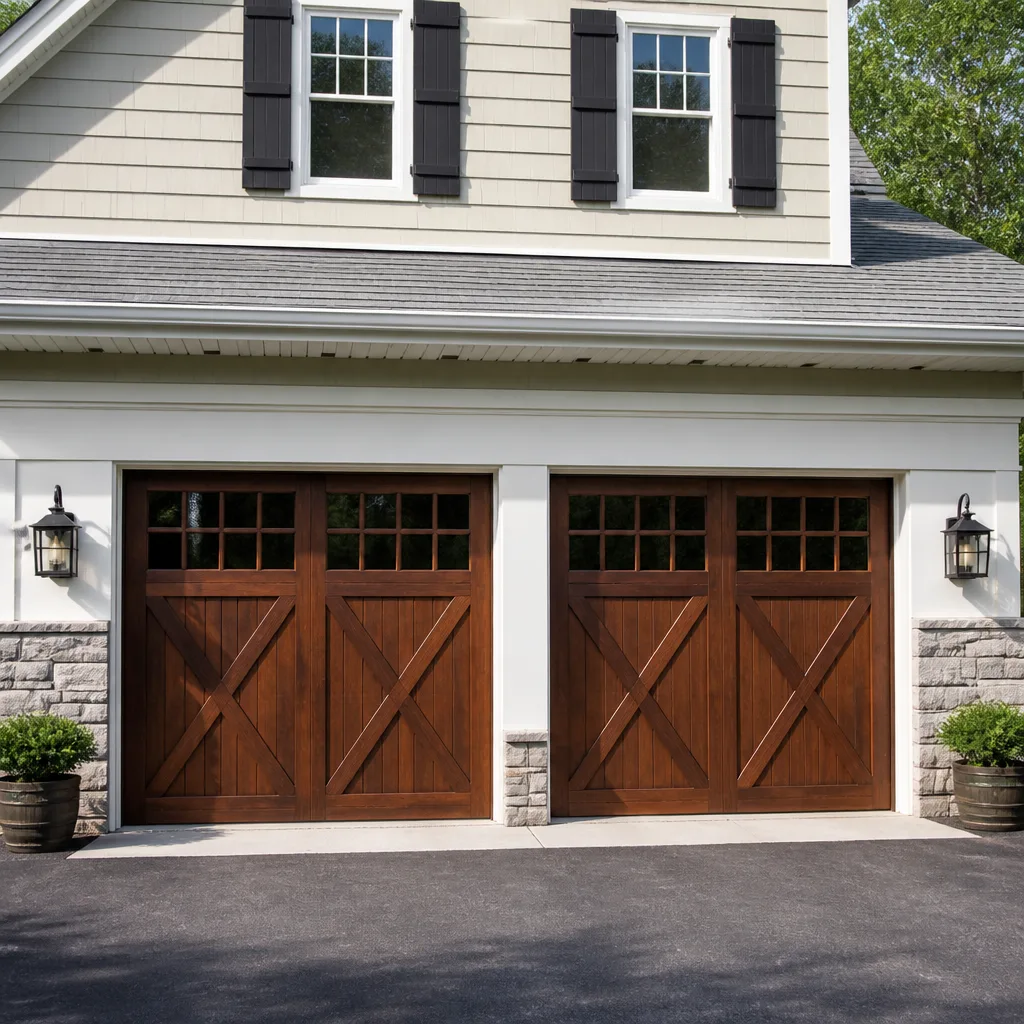 Carriage house
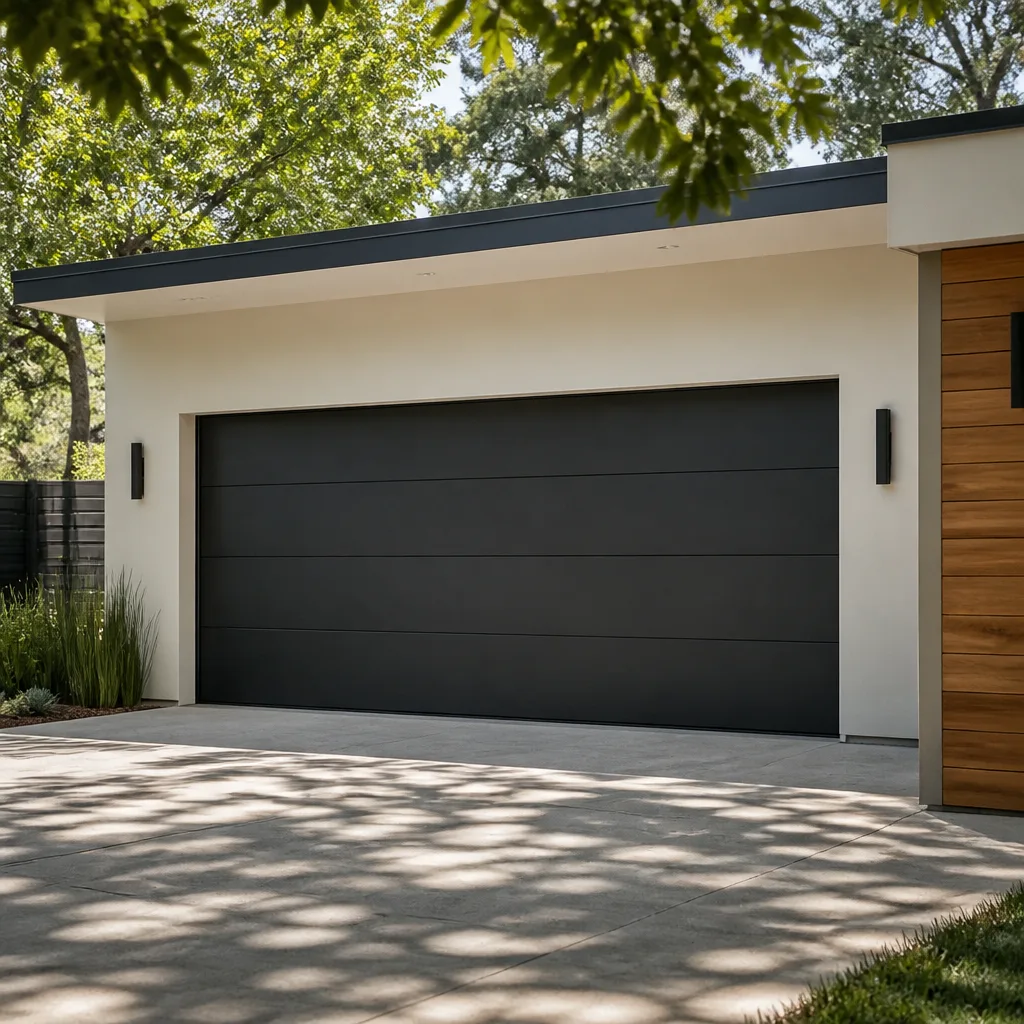 Modern flush
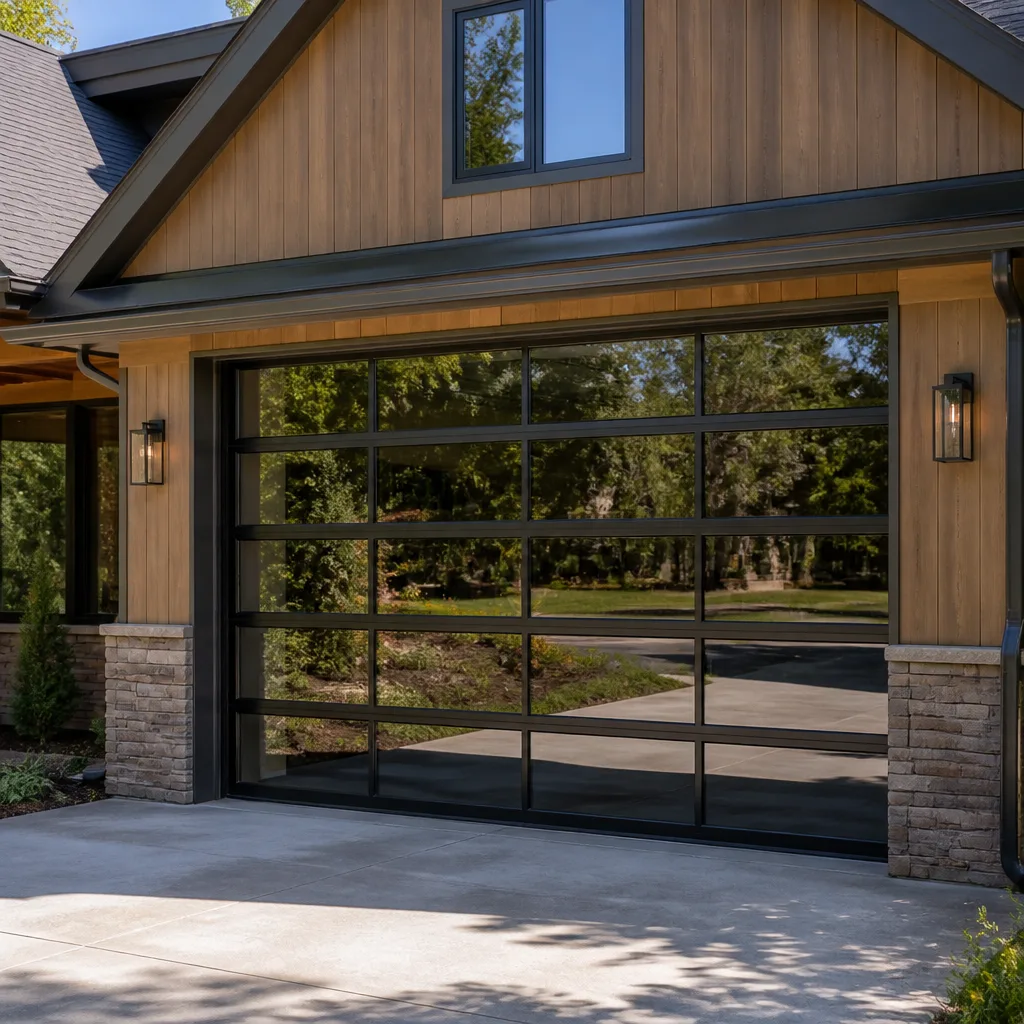 Full-view glass
 LiftMaster openers
 Chamberlain openers
Full 25-point door and opener safety check with every visit - springs, cables, rollers, tracks, and your LiftMaster or Chamberlain opener included
You get a price before we start. It does not change when the truck arrives.
Get your free estimateGarage Door Repair Troubleshooting: Common Problems and How to Fix Them
A garage door that reverses before hitting the ground is one of the most Googled garage door problems in America, and it’s also the one with the most misdiagnosed fixes. Homeowners replace photo-eye sensors when the real culprit is a travel limit setting. They lubricate tracks when the problem is a bent section. They assume the opener is dead when the trolley has simply come disconnected. This guide is different. We’ve organized it by symptom, not by part, because that’s how failures actually show up in Panorama City garages: the door won’t open, the door won’t close, it reverses early, it grinds, it shakes, it stops halfway. Each section walks the actual failure path so you stop replacing things at random and start fixing the thing that’s actually broken.
Quick Answer
Most garage door failures trace to one of six root causes: a misaligned photo-eye sensor, a travel limit that needs adjustment, a broken spring, a disconnected trolley, worn rollers, or a dead opener logic board. The fastest way to narrow it down is to run two tests: press the wall button and watch what happens, then pull the manual release cord and try lifting the door by hand. Those two observations eliminate about 80% of the guesswork.
Styles & brands we work with
- Raised-panel steel
- Carriage house
- Modern flush
- Full-view glass
- LiftMaster openers
- Chamberlain openers
Table of Contents
- The Door Won’t Open: Dead Opener, Dead Motor, or Disconnected Trolley
- The Door Won’t Close: Photo-Eye Sensors and Force Settings
- The Door Reverses Early: Travel Limits, Not Sensors
- The Door Opens Partially Then Stops: Springs and Tension
- Grinding, Squealing, or Rattling: Diagnosing by Sound
- The Door Moves Unevenly: Track, Roller, and Cable Problems
- Opener Error Codes: What the Blinking Lights Actually Mean
- Power Outage and Manual Operation: Doing It Without Derailing the Trolley
The Door Won’t Open: Dead Opener, Dead Motor, or Disconnected Trolley
Three completely different failures look identical from the wall button. You press it, you hear either nothing or a hum, and the door doesn’t move. Here’s how we tell them apart in the field, because the fix for each one is completely different and guessing wrong costs money.
Symptom 1: Press the button, hear absolutely nothing. No hum, no click, no relay sound. Check the obvious first: is the opener plugged in, and is the outlet live? In Panorama City garages, we regularly find openers plugged into GFCI outlets that tripped during a rainstorm or a power flicker. Reset the outlet. Still nothing? The wall button wiring may have a short, or the logic board has failed. On a LiftMaster or Chamberlain, a dead logic board is more common on units over 12 years old. On a Craftsman from the 1990s or early 2000s, the capacitor or the motor start relay fails first.
Symptom 2: Press the button, hear a hum but nothing moves. The motor is getting power but the door won’t budge. The most common cause here is a broken torsion spring. The opener can’t lift a door with a snapped spring, and it’ll just strain against the weight. Pull the emergency release cord and try to lift the door by hand. If it feels like lifting a refrigerator, the spring is broken. Do not try to replace a torsion spring yourself. These springs are under enough tension to cause serious injury. Call a technician who works with your door brand.
Symptom 3: Press the button, hear the opener run, but the door stays put. This is usually a disconnected trolley. The trolley is the carriage that rides the rail and pulls the door. If the emergency release cord was pulled, or the trolley’s engagement mechanism wore out, the opener runs but the door doesn’t move. On a Chamberlain or LiftMaster, re-engaging the trolley usually means pulling the release cord toward the door until you hear it click back into place, then cycling the opener once. On older Raynor and Wayne Dalton units, the engagement procedure differs by model year. If re-engaging doesn’t work, the trolley itself may need replacement.
In our experience serving Panorama City and the surrounding Valley neighborhoods, the disconnected trolley is the single most common “dead opener” misdiagnosis. Homeowners assume the opener failed and start shopping for a new one when the fix is a ten-second re-engagement.
The Door Won’t Close: Photo-Eye Sensors and Force Settings
The most common reason a garage door refuses to close is that the photo-eye safety sensors on either side of the door are misaligned, dirty, or blocked. These are the small units mounted about six inches off the floor, one on each track. If the invisible beam between them is broken, the opener refuses to close the door. That’s a safety feature, not a malfunction. The question is why the beam is broken.
Here’s the sensor alignment test we use, and it’s more reliable than eyeballing it:
- Check the LEDs on both sensors. On LiftMaster and Chamberlain units, a solid light on each sensor means they’re aligned and communicating. A blinking or flickering light on either one means misalignment or obstruction. On Genie openers, both sensors show solid green when aligned.
- If one sensor light is off entirely, check the wiring. The low-voltage wire runs along the track and can get pinched, chewed, or pulled loose.
- Use a piece of cardboard, roughly 8 by 11 inches, and hold it directly in front of one sensor. If the light on that sensor stays solid and the other one blinks, the beam is being blocked and the sensors are working. Move the cardboard away and the lights should stabilize.
- If the lights don’t respond, loosen the wing nut on one sensor bracket and adjust it slightly up, down, left, or right while watching the LED. Alignment is correct when both lights go solid.
- Clean the sensor lenses with a dry cloth. Panorama City gets dust and fine grit, especially during the dry months, and a hazy lens blocks enough of the beam to trigger a false obstruction reading.
If the sensors are aligned, clean, and lit but the door still won’t close, the issue is usually the close force setting. This is a dial or button on the opener motor unit that controls how much resistance the opener tolerates before reversing. If the force limit is set too low, the opener senses the door’s normal travel resistance as an obstruction and reverses. On a LiftMaster or Chamberlain, the force setting is adjusted via the “up” and “down” arrows on the opener. On Genie, it’s typically two small dials on the back of the unit. Adjust in small increments. Too much force and the door will crush anything in its path. Too little and it won’t close at all.
If you’ve checked sensors, cleaned lenses, verified alignment, and adjusted force, and the door still won’t close, the issue could be the logic board or a limit switch that’s failed internally. At that point, the technician who shows up matters. We service all eight major brands, and opener repair is a dedicated part of what we do, not an afterthought. You can read more about how we approach it on our garage door opener repair in Panorama City page.
The Door Reverses Early: Travel Limits, Not Sensors
Here’s the insight most troubleshooting guides miss: a door that closes partway and then reverses is usually not a sensor problem. It’s a travel limit problem. The travel limit tells the opener where “closed” is. If the limit is set so the door thinks it has reached the ground when it’s actually still six inches up, the opener will reverse as a safety response because the door is meeting unexpected resistance.
Here’s the difference in symptoms:
- Sensor issue: The door reverses before it travels more than a few inches, or it won’t move at all.
- Travel limit issue: The door travels most of the way down, hits the spot where the limit says “stop,” meets the actual resistance of the door being pressed into the ground, and reverses back up. It looks like a sensor problem, but the sensors are fine.
To check the travel limit on a LiftMaster or Chamberlain opener, look for two small adjustment dials or buttons on the side or back of the motor unit. One controls “up” travel, one controls “down” travel. If the door reverses before fully closing, turn the “down” limit slightly in the direction that allows the door to travel further. Make adjustments in quarter-turn increments and test after each one. On Genie openers, the travel limits are set using the “program set” button and the up/down arrows, and the process varies by model year.
If adjusting the travel limit doesn’t resolve the reversal, the next thing to inspect is the track itself. A bent track or a track that’s out of alignment will cause the rollers to bind near the bottom of the travel path. The opener senses the added resistance and reverses. Run your hand along the vertical track section, feeling for dents, bends, or a spot where the track narrows. A track that’s bolted too tightly to the wall can also pinch the rollers. If you find visible damage, repair is a job for a professional. Track work involves the door’s full weight and tension.
On the subject of garage door problem patterns in the San Fernando Valley, we see early-reverse complaints concentrated in homes where the garage slab has shifted. Panorama City sits on Valley soil, and minor settling over the years can change the angle of the floor at the threshold. The door reaches the bottom, the slab has tilted slightly up, and the opener interprets the added resistance as an obstruction. Adjusting the travel limit usually fixes it, but the technician also has to check whether the door itself is still balanced. You can learn more about what we inspect on a service call by visiting our garage door repair in Panorama City page.
The Door Opens Partially Then Stops: Springs and Tension
A door that opens a foot or two and then stops dead is telling you something specific: the opener is fighting too much resistance. The most common cause is a broken or weakened torsion spring. Most garage doors have either one or two torsion springs mounted on a bar above the closed door. When one of two springs breaks, the remaining spring can’t counterbalance the door’s full weight, and the opener only manages to lift it a few inches before the strain becomes too much.
Here’s the confirmation test:
- Close the door if possible, or work with it in whatever position it’s stuck in.
- Pull the emergency release cord to disengage the opener from the door.
- Try to lift the door manually. A properly balanced door should lift with moderate effort and stay at chest height without dropping or shooting up.
- If the door feels extremely heavy, won’t stay up, or drops when you let go, the spring system has failed or lost tension.
If you look up at the torsion bar and see a visible gap in the spring coil, that’s the break. A broken spring is the most common garage door repair we handle in Panorama City, and it’s also the one repair that we always recommend leaving to a professional. Torsion springs are wound tight enough to cause severe injury if they release incorrectly. There is no safe DIY shortcut here.
Spring failure is also a good moment to think about the door’s age and overall condition. Torsion springs are rated for a certain number of cycles (one open and close is a cycle), and most residential springs in this market are rated for 10,000 cycles. If your door gets daily use, that’s roughly 10 to 15 years of life. If one spring broke, the other spring on a two-spring door is the same age and likely close behind. Replacing both at once is standard practice because the labor is the same and the second spring is on borrowed time. We’d tell you the same thing whether you hire us or not, because spring replacement is expensive enough that doing it twice in six months is a waste.
For homeowners weighing whether to repair the springs or replace the whole door, the calculus depends on the door’s age, panel condition, and whether the track and rollers are also worn. Mesa Garage Door Service handles both, so our recommendation isn’t skewed toward selling new equipment. We’ll tell you which one actually makes sense for your door and your budget. Our garage door installation in Panorama City page covers what a full replacement involves if that’s the answer.
Grinding, Squealing, or Rattling: Diagnosing by Sound
Sound is one of the most underrated diagnostic tools in garage door troubleshooting. The noise a door makes, and when it makes it, points to the failing part with surprising precision.
A metallic grinding noise while the door moves is almost always roller-related. Over time, the ball bearings inside the rollers wear out, the roller body grinds against the track, and the door sounds like it’s dragging gravel. In older Panorama City homes with original hardware, the rollers are often the nylon-sleeved type from the 1980s or 1990s that were never designed for 30 years of use. Replacing worn rollers is a straightforward repair, but it involves working with a door under tension, so we recommend having a technician handle it. The door weighs anywhere from 150 to 400 pounds depending on the material.
A squealing or squeaking noise is usually track and roller lubrication, or a pulley bearing on an extension spring system. On older Wayne Dalton and Raynor doors that use extension springs, the pulleys at the end of the spring assemblies wear out and the bearing squeals. Lubricating the track with a silicone-based spray and the rollers and hinges with white lithium grease quiets most squeaks. But if the squeal persists after lubrication, it’s a failing bearing, and the part needs replacement.
A rattling noise that happens when the door is opening or closing typically means loose hardware. The bolts that hold the track brackets to the wall work loose over years of vibration. The hinges connecting the panels loosen. The opener rail itself can rattle against the ceiling if the mounting straps have slack. Walk the length of the track with a socket wrench and tighten every bracket bolt, hinge, and strap. On a Craftsman opener from the 2000s, also check the chain tension. A loose chain slaps against the rail and produces a rattling sound that’s often misdiagnosed as a track problem.
A grinding noise that happens only when the opener runs points to the opener’s gear mechanism. LiftMaster, Chamberlain, and Craftsman openers from the 2000s and earlier used a nylon drive gear that strips over time. The motor spins, the gear slips, and the door either doesn’t move or moves erratically while producing a pronounced grinding sound from the motor unit itself. That’s an opener repair, not a door repair, and it’s a different parts replacement entirely.
This is where brand familiarity pays off. A technician who knows LiftMaster and Chamberlain know that gear failures follow a pattern correlated with door weight and cycle count. A technician who knows Raynor knows that their older chain-drive units have different failure points. We know your brand, and we diagnose by name rather than treating every opener as a generic box. Our opener repair service in Panorama City covers the full range of manufacturer-specific issues.
The Door Moves Unevenly: Track, Roller, and Cable Problems
A door that jerks, shudders, or lifts unevenly on one side is almost always a track or cable issue. It’s a symptom worth addressing immediately, because an unbalanced door is a door that’s wearing out its springs, rollers, and opener faster than it should, and the longer it runs uneven, the more expensive the eventual repair.
Start with a visual inspection of the cables. Look at the cables that run from the bottom brackets on each side of the door up to the torsion bar or extension spring pulleys. If one cable is frayed, kinked, or dangling loose, that side of the door has lost its support and the weight is now unbalanced. A frayed cable is a failure waiting to happen, and when it snaps, that corner of the door can drop suddenly. Cable replacement involves working under the same spring tension as the door itself. It’s a professional repair, full stop.
If the cables look intact, the problem is likely in the track alignment or the rollers. Here’s a numbered inspection sequence:
- Measure the distance between the vertical tracks at the top and bottom on each side. The tracks should be parallel and equidistant. A difference of more than a quarter inch means a track has shifted.
- Check that the track brackets are still tight against the wall. In Panorama City, we regularly see brackets that have pulled loose from the wall studs after years of door vibration.
- Inspect each roller as the door moves. A roller that’s wobbling, chipped, or not sitting fully inside the track creates a jerky, uneven movement pattern.
- Look for a bent horizontal track section. Damage often happens at the transition point where the horizontal and vertical tracks meet, usually from the door being forced or from something stored in the garage hitting the track.
An uneven door on a spring-balanced system is sometimes a sign that the door itself has changed weight, which happens when panels absorb moisture or when someone has installed an insulated panel section onto a door that was designed without the extra weight. The springs are matched to the door’s weight at installation. If the weight changes significantly, the balance is off and the door will never travel smoothly until the springs are re-tensioned or replaced.
We serve homeowners throughout Panorama City and the surrounding Valley communities, and the uneven-door call is one we see consistently from garages that double as storage spaces. Items stacked against the track, even leaning lightly on it, bend it out of alignment over time. Keeping the track area clear is the cheapest preventive maintenance there is.
Opener Error Codes: What the Blinking Lights Actually Mean
Modern smart openers, particularly LiftMaster and Chamberlain units with myQ capability, communicate through LED error codes. Learning to read them saves time and prevents the wrong fix. The most common mistake we see in Panorama City is a homeowner with a myQ connectivity issue resetting their router, uninstalling the app, and factory-resetting the opener, when the actual problem is a hardware fault in the opener’s receiver board.
Here’s how to tell the difference:
Connectivity issues affect the app, not the door. If the door opens and closes fine from the wall button and the remote, but the myQ app shows “offline” or won’t connect, that’s a Wi-Fi or app problem. Check that the opener’s Wi-Fi light is solid, not blinking. Reconnect through the myQ app’s setup process. This is not a repair issue.
Hardware errors show up as blinking lights on the motor unit itself. On LiftMaster and Chamberlain openers, a series of up-arrow and down-arrow flashes after an operation indicates a specific fault code. Common codes include:
- 1 flash on the up arrow: The opener has detected a force issue. Check the door’s balance and the travel limits.
- 2 flashes on the up arrow: The safety sensors are misaligned or blocked.
- 4 or 5 flashes on the up arrow: The travel module or logic board has failed and needs replacement. This is not a connectivity problem and no amount of router resetting will fix it.
On Genie openers, the indicator is a blinking red light on the motor unit, and the number of blinks corresponds to the fault. Genie’s “up arrow” and “down arrow” LED indicators also communicate sensor and force issues. The easiest way to decode what you’re seeing is to check the model number on the opener and look up the specific code chart. If you’d rather not, call us and describe what you see. We’re familiar with the failure patterns and codes for LiftMaster, Chamberlain, Genie, and the other brands we service, which means we can often narrow down the problem over the phone before we even send a truck.
One more thing worth knowing: on older Craftsman openers, a blinking light often just means the opener is in lock mode or that the wall button’s lock feature is engaged. Hold the lock button down for a few seconds and try again. We’ve saved more than one homeowner from an unnecessary service call with that tip.
Power Outage and Manual Operation: Doing It Without Derailing the Trolley
When the power goes out in Panorama City, whether from a summer heat event or a winter storm, the garage door doesn’t work unless you know how to operate it manually. Every opener has an emergency release cord, usually a red handle hanging from the trolley rail. Pulling it disconnects the trolley from the opener carriage so you can lift the door by hand.
Here’s the safe sequence:
- Pull the red emergency release cord straight down. You’ll hear a click as the trolley disengages from the carriage.
- Lift the door manually using the handles on the door bottom panel. If the door is properly balanced, it should lift with moderate effort and stay up when you let go.
- When power returns, with the door closed, press the wall button. The opener will run, the trolley will travel the rail, and it should automatically re-engage with the carriage.
- If it doesn’t re-engage on its own, pull the release cord again toward the door, then cycle the opener once. On most modern LiftMaster and Chamberlain units, the automatic re-engagement works smoothly. On older Raynor and Wayne Dalton openers, you may need to line up the trolley with the carriage manually before hitting the button.
A word of caution: if the door is stuck in the open position and won’t stay up on its own when you release the handle, do not try to lower it manually by force. A door that drops is a door with a failed spring, and a falling door can cause serious injury. In that situation, leave the door where it is and call a professional. If the door is stuck open during a power outage and the spring is intact, you can lower it manually with care, keeping your hands clear of the track and cables.
Power outage situations are also a reminder of why regular door maintenance matters. A balanced door is safe to operate manually. An unbalanced door is a hazard when the power fails at the worst possible moment. We see this in Panorama City during every extended outage, and the homes that struggle are the ones that haven’t had their springs and cables inspected in years.
Common Mistakes to Avoid
- Replacing the photo-eye sensors before checking the travel limit. This is the most common mistake we see, and it’s an expensive one. Sensors cost money, and if the real problem is a travel limit setting, new sensors do nothing. Run the diagnostic sequence in order.
- Lubricating a door with WD-40. WD-40 is a solvent, not a lubricant. It strips away whatever grease was left on the rollers and tracks, and the door grinds worse than before. Use a silicone spray on tracks and white lithium grease on rollers and hinges.
- Forcing a stuck door with the opener. If the door won’t move, holding down the wall button or cycling the opener repeatedly turns a minor repair into a major one. The opener can strip its gear, damage the trolley, or bend a track section.
- Ignoring a broken spring. A door with one broken spring still sometimes opens with help from the opener, so homeowners think the problem is minor. But the opener is now doing the work of the missing spring, and it will fail prematurely. Repair the spring when it breaks, not when the opener follows it.
- Adjusting force settings to maximum to “fix” a heavy door. If the door needs more force to close, something is wrong. Cranking the force to maximum turns the opener into a hazard that won’t reverse when it should. Fix the underlying balance problem instead.
- Resetting a smart opener’s Wi-Fi to fix a hardware error. The blinking light on the motor unit isn’t a network issue. If the fault code points to the logic board or travel module, resetting the router does nothing. The part needs service.
- DIY spring and cable work. Torsion springs are the most dangerous component in any home, under more stored energy than people realize. Cables run alongside them under the same tension. Professionals exist for these repairs, and the cost of a service call is cheaper than an emergency room visit.
See the difference
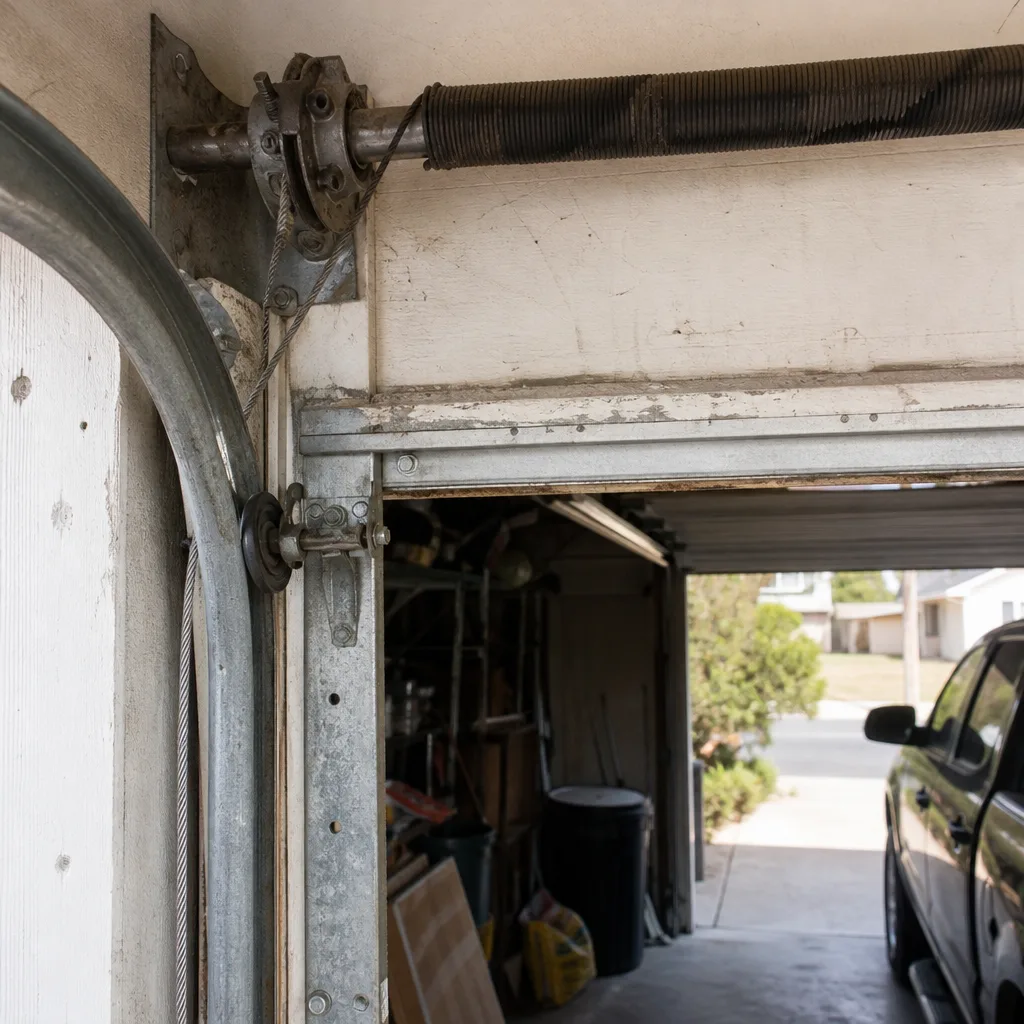 Before
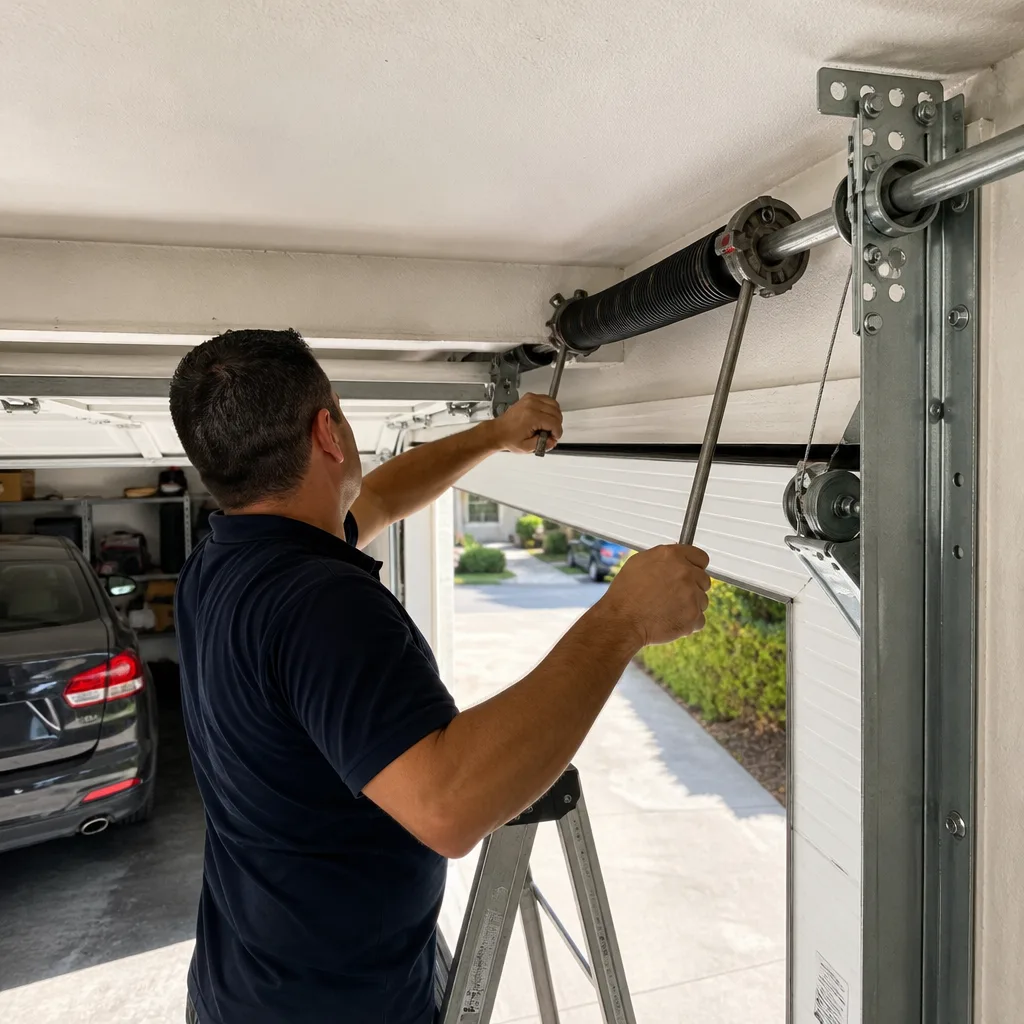 After
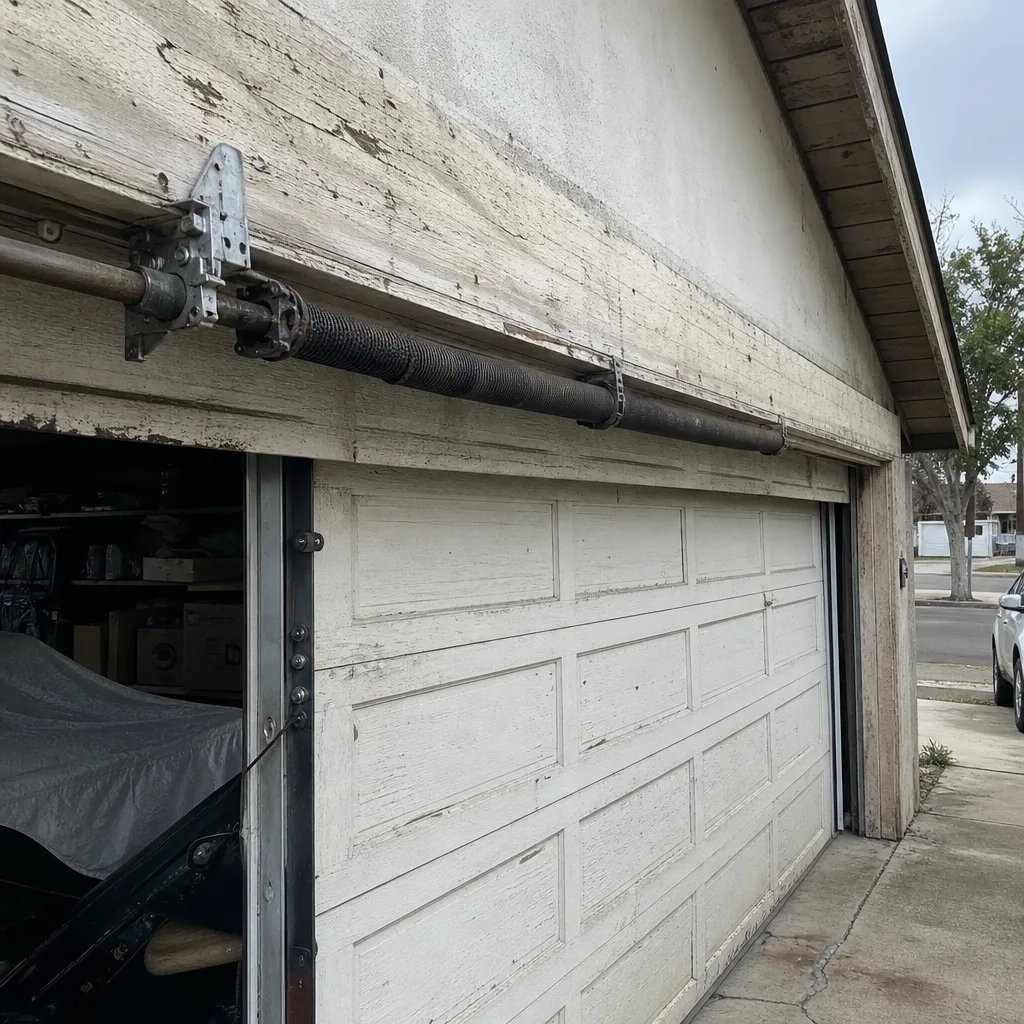 Before
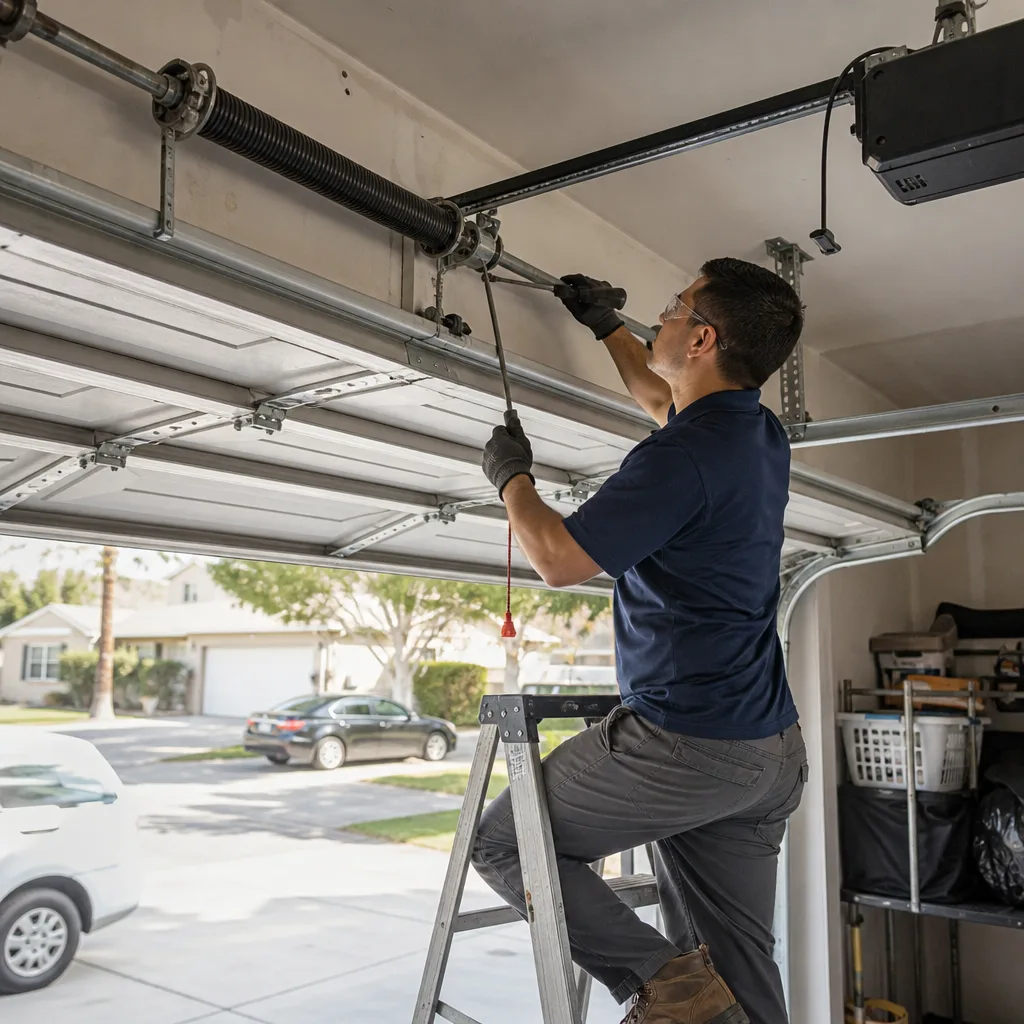 After
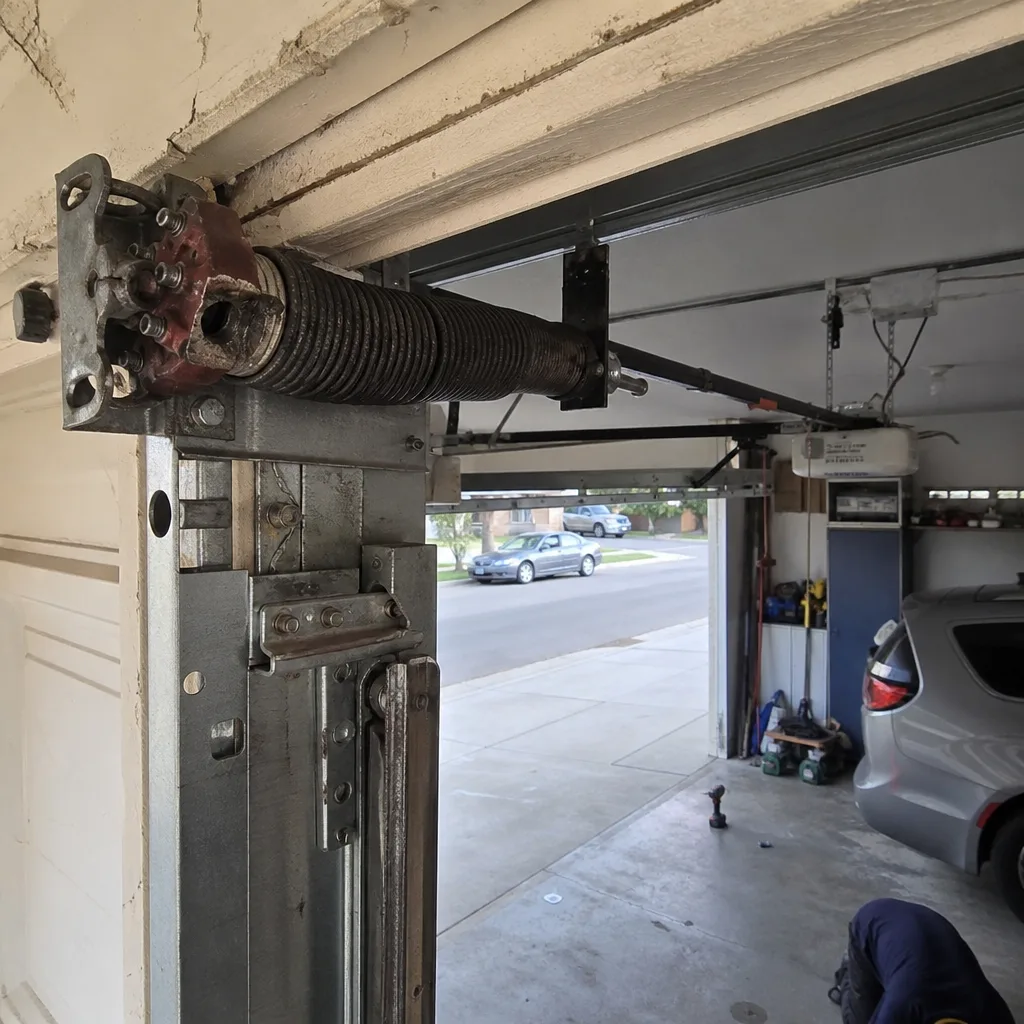 Before
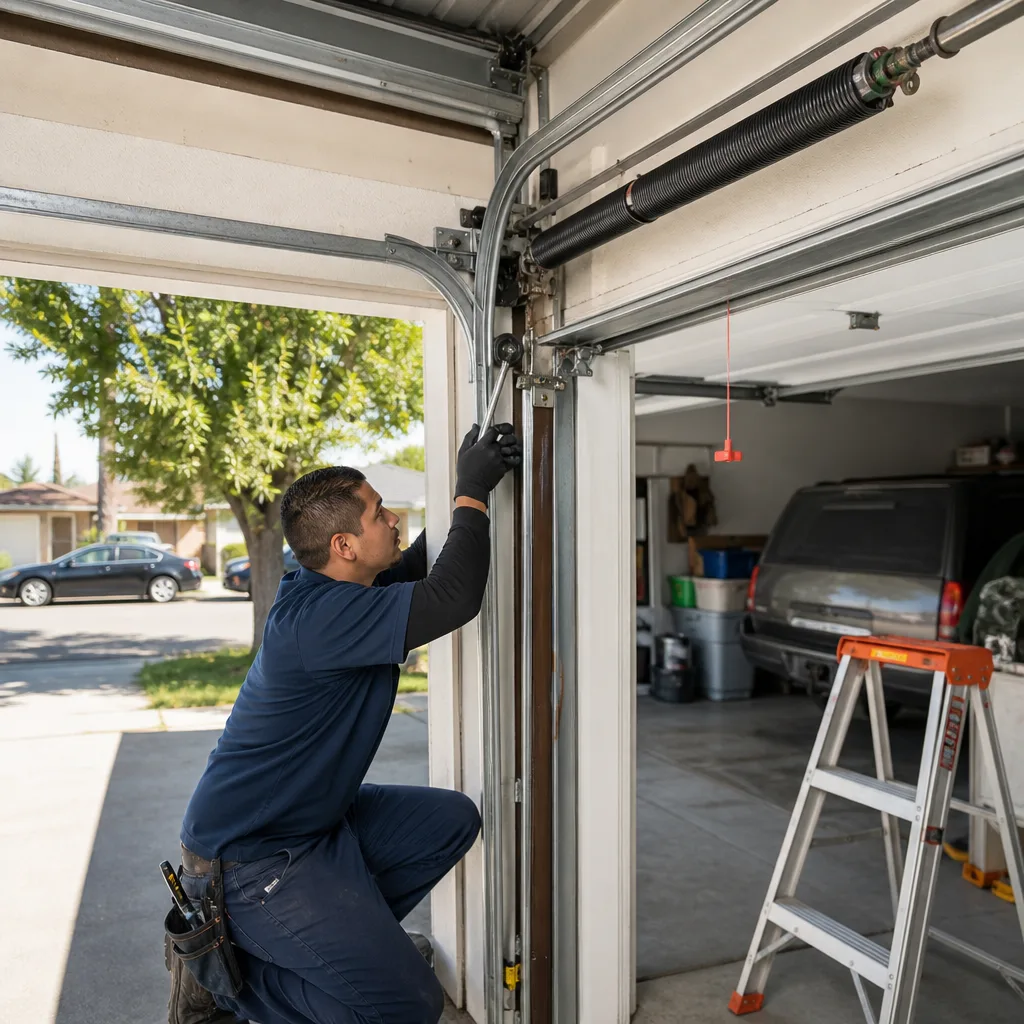 After
When to Call a Professional
Some repairs are genuinely homeowner-appropriate: cleaning sensors, tightening track bolts, lubricating rollers, re-engaging a trolley. Others are not. Broken springs, frayed cables, bent tracks, logic board failures, and any repair that requires working with the door under tension should be handled by someone who does this daily. The line is simple: if the repair involves the spring system or the opener’s internal components, call a technician. Mesa Garage Door Service offers free estimates in Panorama City. Call (833) 620-3545 and we’ll tell you what’s wrong and what it costs before any work starts.
Frequently Asked Questions
Most common repairs in Panorama City, including roller replacement, sensor realignment, and travel limit adjustment, typically fall between $125 and $275 depending on the specific part and the door model. Spring replacement runs higher because it’s parts plus labor under tension. Call (833) 620-3545 for an exact quote after we diagnose the issue.
In most cases, yes. We carry a broad inventory of common repair parts and service all major brands, which means we’re often able to complete the repair on the first visit. If a specialized part needs ordering, we’ll tell you upfront and get it scheduled as quickly as possible.
No. The price is quoted and agreed before any work starts. If we find additional issues during the repair, we stop and discuss them with you rather than adding to the invoice without your approval.
We service LiftMaster, Chamberlain, Genie, Clopay, Amarr, Wayne Dalton, Craftsman, and Raynor equipment. Those are the brands most commonly installed in Panorama City and throughout the Valley, and our technicians know their specific failure patterns and parts ecosystems.
Both. We repair openers when repair makes financial sense, and we replace them when the logic board or motor has reached the end of its life. We’ll tell you which one actually makes sense for your situation. Our opener repair service in Panorama City covers the full range, from legacy Craftsman units to modern smart-home systems.
We’re based in Panorama City and serve the surrounding San Fernando Valley communities. If you’re in the Valley, odds are we cover your neighborhood. Call and ask, or visit our Mesa Garage Door Service home page to confirm your area.
The Bottom Line
The frustrating part of a malfunctioning garage door isn’t the problem itself. It’s the ambiguity. The same symptom can have five different root causes, and guessing wrong means buying parts you don’t need and still having a broken door. The way through the ambiguity is systematic diagnosis: test the wall button, test the manual lift, check the sensors, verify the travel limits, inspect the springs and cables, and read the error codes. Most failures reveal themselves quickly when you check things in the right order. For everything else, a qualified technician is a phone call away. And the fixes that involve spring tension or opener internals? Those are the ones where the right call, right from the start, is to bring in someone who works on your brand every day.
Written by the team at Mesa Garage Door Service, serving Panorama City since 2012.